Installation
Getting Forms Plugin into your Framer project takes less than a minute. It installs directly from the Framer Marketplace - no downloads, no accounts to create before you start.Step 1: Open the Framer Marketplace
In your Framer project, click the Insert button (the + icon) in the top-left toolbar to open the Insert panel, then navigate to the Plugins tab. Alternatively, you can go directly to the plugin listing on the Framer website: Install Forms Plugin on the Framer MarketplaceStep 2: Install the Plugin
On the Forms Plugin listing page (or inside Framer’s plugin browser), click Install. Framer will add Forms Plugin to your project instantly.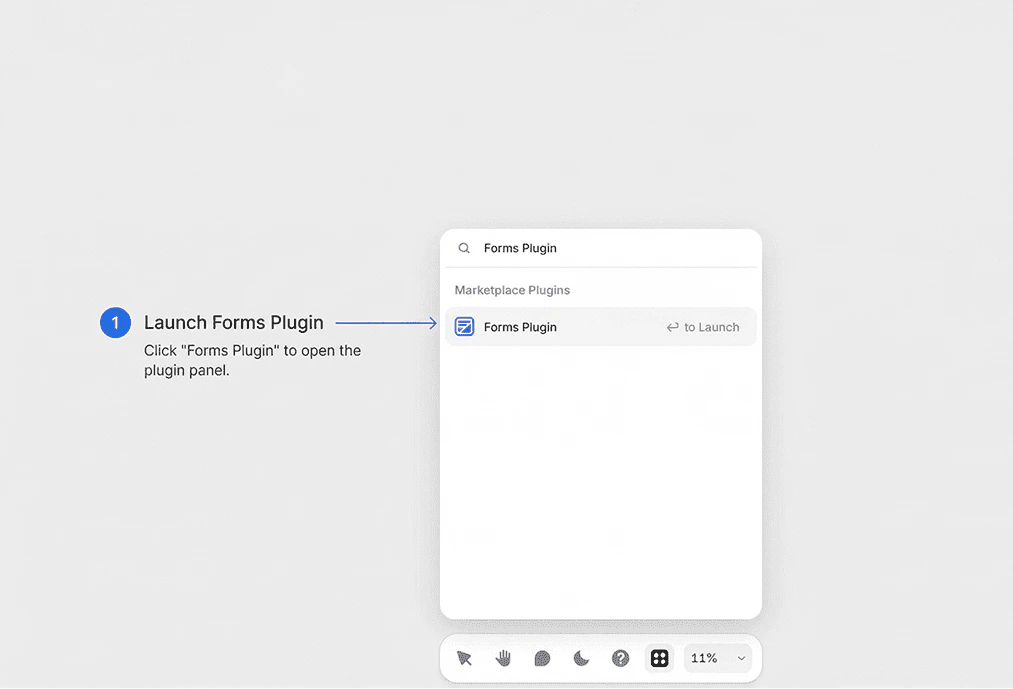
Step 3: Open the Plugin
Once installed, you can open Forms Plugin at any time:- Click the Insert button (+) in the top-left toolbar
- Select Plugins from the panel
- Find Forms Plugin in your installed plugins list
- Click it to open the plugin panel
Requirements
- An active Framer project (free or paid Framer account)
- A modern browser (Framer Web) or the Framer desktop app
No Code Required - Forms Plugin is designed for designers and non-developers. You do not need any coding experience to build and publish forms.